I’ve ventured into a new-for-me crafting area with the Brother Scan N Cut 2. Days spent with an aching back, tense neck and fingers permanently clenched in holding-the-cutting-knife-position are a thing of the past. No more laboring strained over a mat with cutting knife and templates for me.


Automatic cutting machines have been around for quite a few years. The first ones just cut rudimentary proprietary images and were used predominantly by papercrafters. You can cut all sorts of materials with the newer ones and design your own images to cut. The industry has spawned masses of folks making YouTube videos and selling cut files. Unfortunately, the whole living rurally thing means that YouTube videos chew up the monthly data allotment on satellite service. Not to mention the fact that surviving a YouTube video viewing often means enduring torturous tinny music. Don’t know why anyone thinks that’s a good idea. And, some of the folks selling cut files haven’t got a clue about copyright – you’ll find files for sale that you know the seller doesn’t own the image rights to and Pinterest boards full of “free” images that are not free – the owner of the image would really like to be paid for their work. It’s a messy world out there.
All that said, here are my learnings. First, the machine is light. Set up is relatively easy. You can follow along with their picture instructions and go right out of the gate. The gotcha for most folks is blade depth setting. Although Brother has recommended settings, some of them ruin your cutting mat by slicing right through it. Luckily, I’d browsed the internet and saw that warning before I set mine up. Brother recommends you do a small test cut often and every time you change your blade or the material being cut. They’ve built an easy test capability right into the machine. Some new blades in their carrier arrive not calibrated, I had to turn mine around once as it was loose, and now it works beautifully at setting two for vinyl, pressure zero. Some folks send their blades back, but I’m not a patient type. I don’t plan to repeat all the detailed instructions as I found the Brother sheet easy to follow and recommend new folks use that. If you flick back an edge of vinyl and look at it’s depth – barely more than a hair – you know that you barely want the teeniest tip of a blade to show on your cutting tool – really, just a smidge past not there at all.


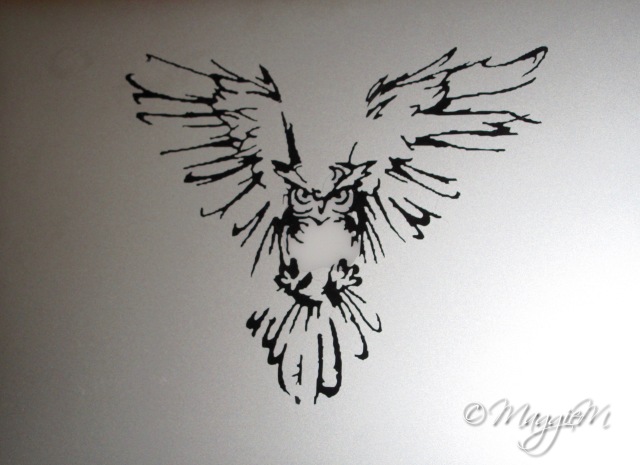
What I had seen and did not pay enough attention to, was that new mats can be too sticky. You place your item to be cut on their mat – a standard mat comes with the machine and should work on most items (again see those instructions, it won’t work on tissue – you’d need a light tack mat for that). The crumpled looking owl and samples above plus large bits of paper stuck to the mat are to let you know it wasn’t smooth sailing right out the door. Didn’t want to scare anyone off by putting these images first. Getting the image off the mat took TONS of scraping – I didn’t think I was going to be able to for awhile – the effort almost rendered the image unusable and got paper bits on the sticky side of the viyl that also had to be picked off so it would stick. I cleaned the remaining bits off the mat with a non-alcohol baby wipe and used the wipe to scrub at the map to make it less sticky. This isn’t something Brother recommends, but many users do. I am so glad I started out with vinyl as card stock would have been worse to get off the ‘tacky’ standard mat and the cut pieces would have been unusable. It is better now.

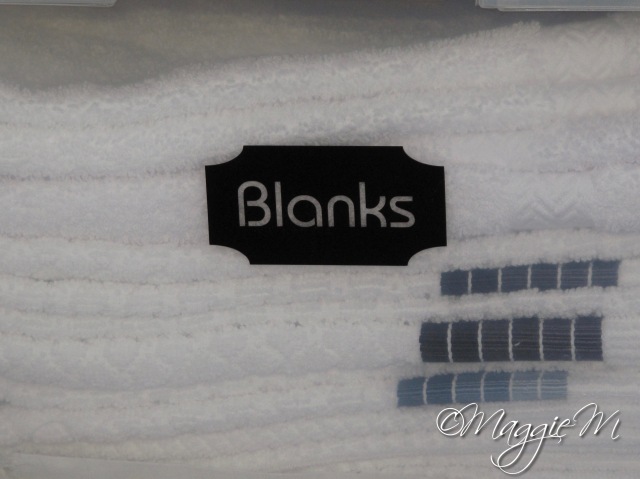
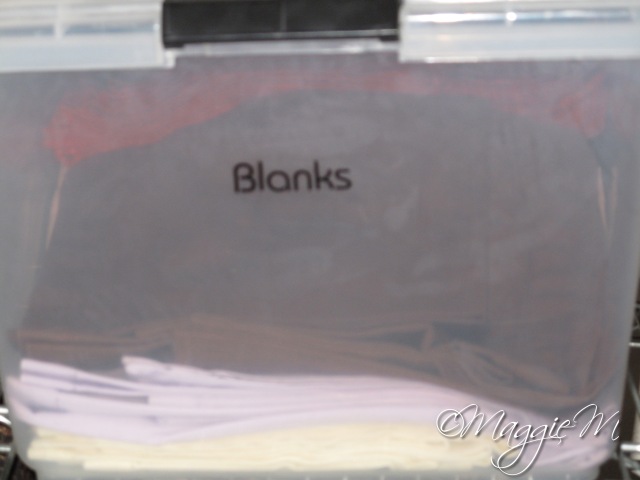
Being a thrifty sort, with what some might call too many craft supplies, I worked to save both the lettering for the words and the label for the words by rolling as I peeled them off. This gave me two labels from each small piece of vinyl as you can see below. Another Internet tip that worked well for me was using Press N Seal instead of transfer tape ( it does not work as well sticking to heat transfer vinyl – HTV if you mess up and also cut the transfer sheet that comes with it – but that’s another post…). The machine arrives with all parts to get you started except that it does not come with any vinyl test sheets or transfer tape.
I’m also using the free Brother cloud software- Canvas (wish it were downloadable as people report the servers are unusable a lot depending on your area). I started using it before my machine arrived, so I was set to go with that 12 X 12 vinyl sheet full of labels and decals. You can load a picture (many formats accepted), SVG or Brother Cutting File (.FCM) and edit in the software to make your own cutting files with images any size (that fits on their mats – up to 12X12 standard included mat or optional 12X24).
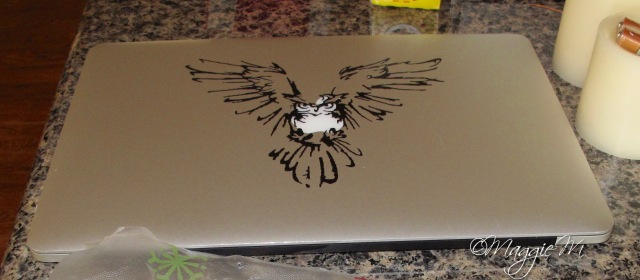
The owl artwork is from Urban Threads – they do allow people who have bought a machine embroidery design to use it in their own personal crafting (no sharing or selling of their images, a lot of folks get tattoos from them). <EDITING NOV 2018> Urban Threads has CHANGED their policy. They now forbid use of their designs even in personal crafting (or for tattoos which they used to share when folks did them). They’ve spelled it out in detail. So sorry to see that change. They used to have a more pleasant attitude and encourage all kinds of crafts with their designs, as they did when I bought this image. The vinyl pictured is from a roll of Brother brand adhesive re-positional vinyl I bought at the same time as the machine. I’ve also bought and am happy with Oracal 631 and 651 vinyl.
Useful links:
There are some I see in Facebook groups who are frightened to set up and use their machines – or who tried once or a few times, had issues and gave up. You need to be willing to experiment and even be willing to lose some material to the learning process. If you can do that – it’s a pretty nifty piece of equipment to have in the craft arsenal. I have so many things lined up to make – the cake carrier is just in progress, I’m on my way for some indoor and outdoor signs, HTV on t-Shirts, more laptop decals for the nieces – I just need more hours in the day!
